NOVEMBER GIVEAWAY WINNER ANNOUNCED!
3D AR Build Guide
created: 11/2/2024 4:11 PM in VIPVAULT

To begin, find a file for the lower receiver you want to print. In this example, we used the Anderson Hellfire Lower, which can be easily found with a quick search. 

Slicer Settings:

Refer to the README file that comes with the downloaded file to find the recommended slicer settings for each part. Accurate settings are essential for proper fit and function.

After printing the parts, follow the steps below to set up and assemble your lower receiver.

Essential Tools and Steps:

Starting with the basic tools for assembly, you'll need:

  • Brass Punch Set: Prevents damaging the receiver during pin installations.

  • Long Arm Hex Key Set: Essential for extra reach in tight spaces.

  • Hammer (rubber/plastic head): Avoids marring metal surfaces.

  • Utility Knife: Useful for handling springs and pins.

Parts:

Mil Spec Lower Parts Kit

Buffer Tube Assembly

Drop In Trigger

Surplus Complete Lower Parts Kit | Black Rifle Depot Spike's Tactical AR-15 Buffer Tube Kit | Tube & Spring CMC Drop-In Flat Trigger – Lancer Systems

Step-by-Step Assembly

1. Magazine Catch Installation:

Insert the magazine release spring and button, then screw in the magazine catch. Test to confirm it releases correctly.

2. Trigger Guard Installation:

Align the trigger guard with its pinhole. For this model, melt a piece of filament to use as rivets instead of a roll pin. If using a roll pin, tap it in gently.

3. Bolt Catch Installation:

Position the bolt catch and carefully insert its roll pin. To avoid scratching, handle it with care. In this model, use a piece of filament as a substitute for the roll pin.

4. Trigger Installation:

Insert the trigger assembly, aligning pins carefully. Use a punch tool to seat it securely. Although a mil-spec trigger is an option, installing a drop-in trigger will significantly simplify the process.

5. Safety Selector and Grip Assembly:

Insert the safety detent and spring, then attach the grip and secure it with a hex screw.

6. Buffer Tube Assembly & Rear Takedown Pin:

Install the rear takedown pin. Insert the buffer retainer and spring, then attach the end plate and castle nut, and screw in the buffer tube.

7. Front Pivot Pin and Stock Installation:

Insert the front pivot pin and attach the stock, adjusting it to your desired length.

8. Final Checks:

Once the lower receiver is assembled, test all components to ensure smooth functionality. The magazine catch, trigger, and safety selector should operate without resistance. Your AR-15 lower receiver is now ready for upper receiver installation!

Be Sure to Check out Our Other Articles!


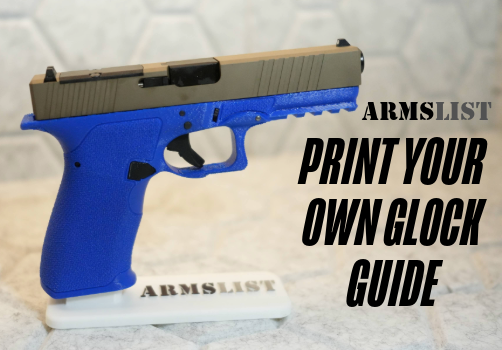
3D Print Your Own Glock:

Easy Print & Assembly - Subscriber Exclusive!


Print to Perform:

Top 3D-Printed Accessories and Mods for Your Firearm - Subscriber Exclusive!


VIP Vault Grand Opening Giveaway

Chance to win Complete Glock Slide & Lower Parts Kit

created: 11/2/2024 4:11 PM in VIPVAULT


Latest Video
 

FIREARMS DEALS!

Get the best deals on guns, ammo, optics, and more!
Enter your email, click "SIGN UP", and we'll send them straight to your inbox!

loader